Lesson: Quick Start
The Java Tutorials have been written for JDK 8. Examples and practices described in this page don't take advantage of improvements introduced in later releases and might use technology no longer available.
See Java Language Changes for a summary of updated language features in Java SE 9 and subsequent releases.
See JDK Release Notes for information about new features, enhancements, and removed or deprecated options for all JDK releases.
Using a Third-Party Bean
Almost any code can be packaged as a bean. The beans you have seen so far are all visual beans, but beans can provide functionality without having a visible component.
The power of JavaBeans is that you can use software components without having to write them or understand their implementation.
This page describes how you can add a JavaBean to your application and take advantage of its functionality.
Adding a Bean to the NetBeans Palette
Download
an example JavaBean component, . Beans are distributed as JAR files. Save the file somewhere on your computer. BumperStickerBumperSticker is graphic component and exposes one method, go(), that kicks off an animation.
To add BumperSticker to the NetBeans palette, choose Tools > Palette > Swing/AWT Components from the NetBeans menu.
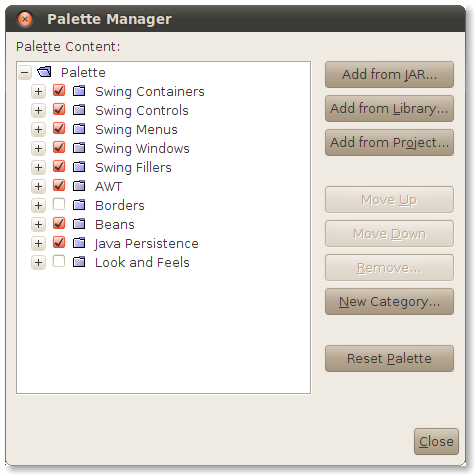
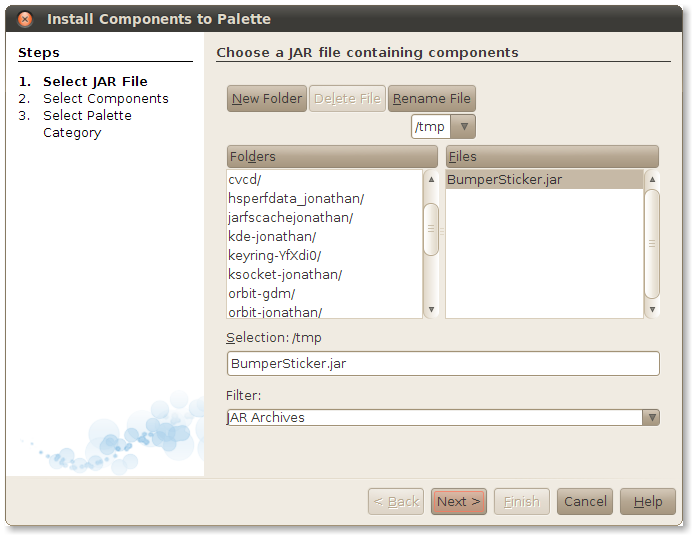
Click on the Add from JAR... button. NetBeans asks you to locate the JAR file that contains the beans you wish to add to the palette. Locate the file you just downloaded and click Next.
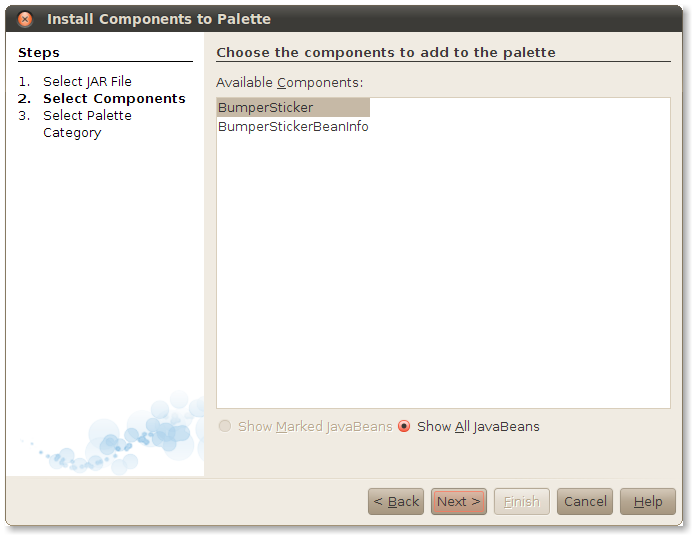
NetBeans shows a list of the classes in the JAR file. Choose the ones you wish you add to the palette. In this case, select BumperSticker and click Next.
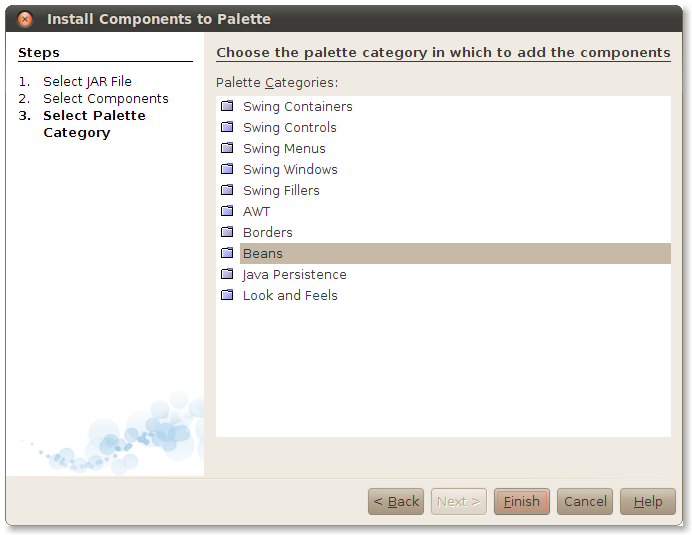
Finally, NetBeans needs to know which section of the palette will receive the new beans. Choose Beans and click Finish.
Click Close to make the Palette Manager window go away. Now take a look in the palette. BumperSticker is there in the Beans section.
Using Your New JavaBean
Go ahead and drag BumperSticker out of the palette and into your form.
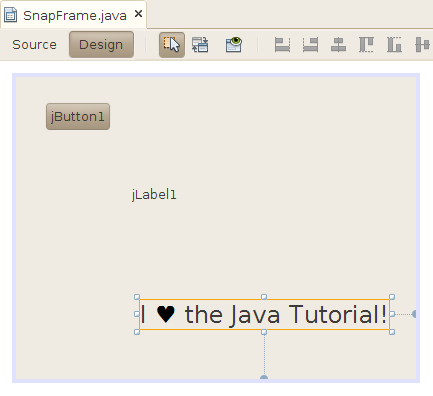
You can work with the BumperSticker instance just as you would work with any other bean. To see this in action, drag another button out into the form. This button will kick off the BumperSticker's animation.
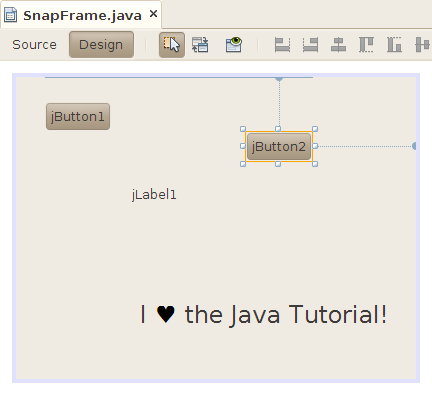
Wire the button to the BumperSticker bean, just as you already wired the first button to the text field.
- Begin by clicking on the Connection Mode button.
- Click on the second button. NetBeans gives it a red outline.
- Click on the
BumperStickercomponent. The Connection Wizard pops up. - Click on the + next to action and select actionPerformed. Click Next >.
- Select Method Call, then select go() from the list. Click Finish.
If you're unsure of any of the steps, review Wiring the Application. The process here is very similar.
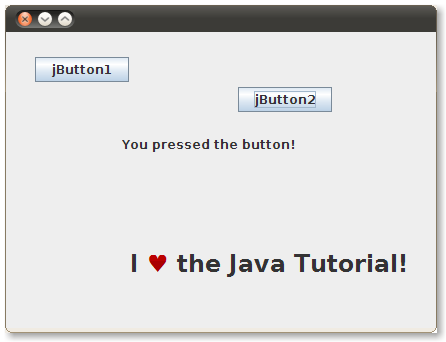
Run the application again. When you click on the second button, the BumperSticker component animates the color of the heart.
Again, notice how you have produced a functioning application without writing any code.
