Lesson: Quick Start
The Java Tutorials have been written for JDK 8. Examples and practices described in this page don't take advantage of improvements introduced in later releases and might use technology no longer available.
See Java Language Changes for a summary of updated language features in Java SE 9 and subsequent releases.
See JDK Release Notes for information about new features, enhancements, and removed or deprecated options for all JDK releases.
Wiring the Application
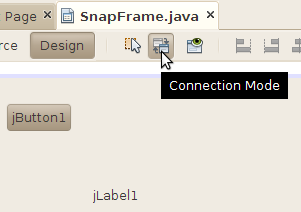
To wire the button and the label together, click on the Connection Mode button in the visual designer toolbar.
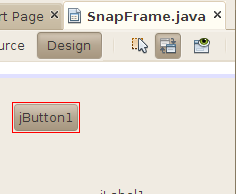
Click on the button in the SnapFrame form. NetBeans outlines the button in red to show that it is the component that will be generating an event.
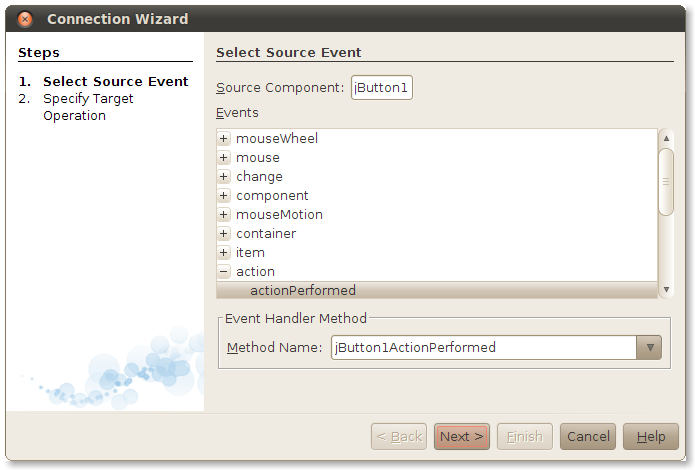
Click on the label. NetBeans' Connection Wizard pops up. First you will choose the event you wish to respond to. For the button, this is the action event. Click on the + next to action and select actionPerformed. Click Next >.
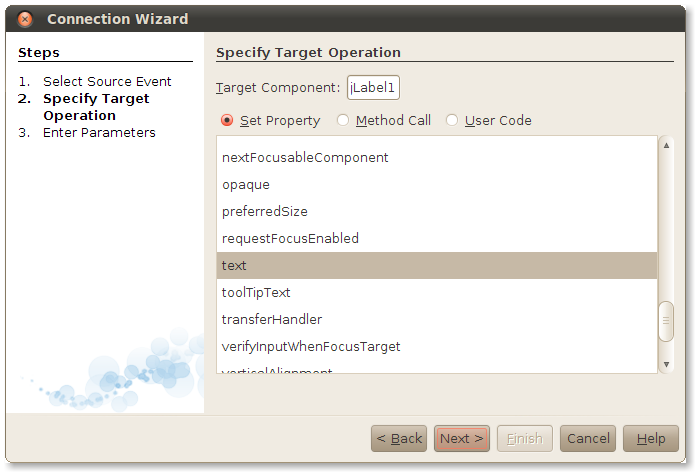
Now you get to choose what happens when the button fires its action event. The Connection Wizard lists all the properties in the label bean. Select text in the list and click Next.
In the final screen of the Connection Wizard, fill in the value you wish to set for the text property. Click on Value, then type You pressed the button! or something just as eloquent. Click Finish.
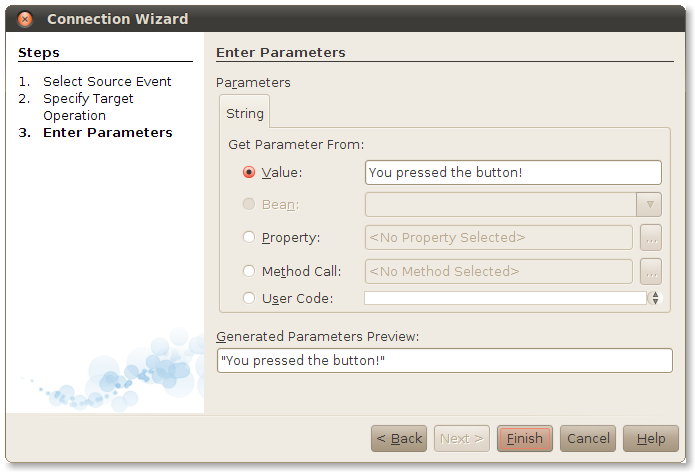
NetBeans wires the components together and shows you its handiwork in the source code editor.

Click on the Design button in the source code toolbar to return to the UI designer. Click Run Main Project or press F6 to build and run your project.
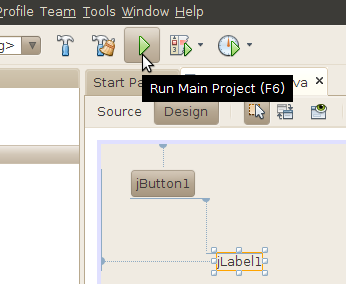
NetBeans builds and runs the project. It asks you to identify the main class, which is SnapFrame. When the application window pops up, click on the button. You'll see your immortal prose in the label.
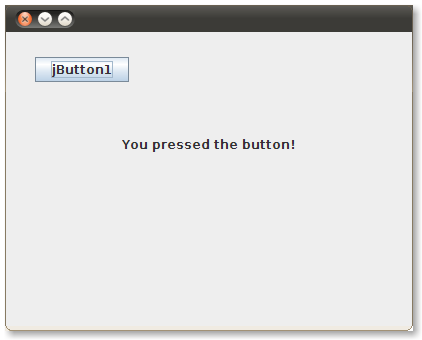
Notice that you did not write any code. This is the real power of JavaBeans — with a good builder tool like NetBeans, you can quickly wire together components to create a running application.