Lesson: Quick Start
The Java Tutorials have been written for JDK 8. Examples and practices described in this page don't take advantage of improvements introduced in later releases and might use technology no longer available.
See Java Language Changes for a summary of updated language features in Java SE 9 and subsequent releases.
See JDK Release Notes for information about new features, enhancements, and removed or deprecated options for all JDK releases.
Creating a Project
The easiest way to learn about JavaBeans is to start using them. To begin, download and install the latest version of NetBeans. This tutorial describes how to use NetBeans version 7.0.
NetBeans is a bean builder tool, which means it recognizes JavaBeans components (beans) and enables you to snap components together into an application with ease.
A Button is a Bean
Start NetBeans. Choose File > New Project... from the menu.
Click for full image
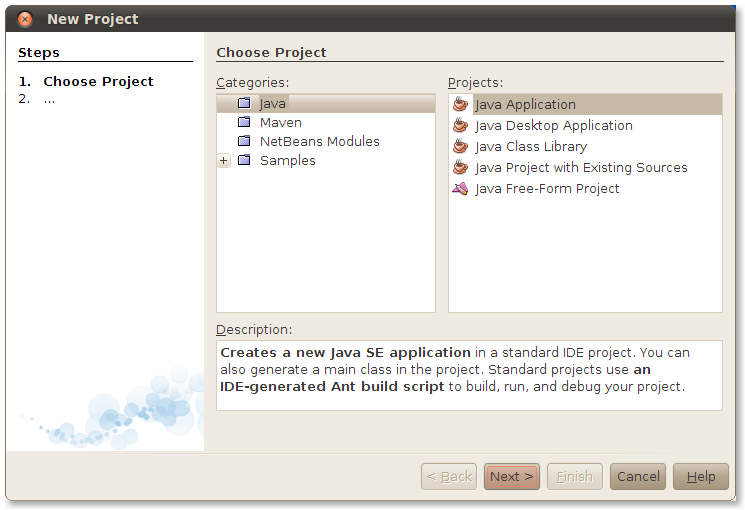
Select Java from the Categories list and select Java Application from the Projects list. Click Next >.
Click for full image
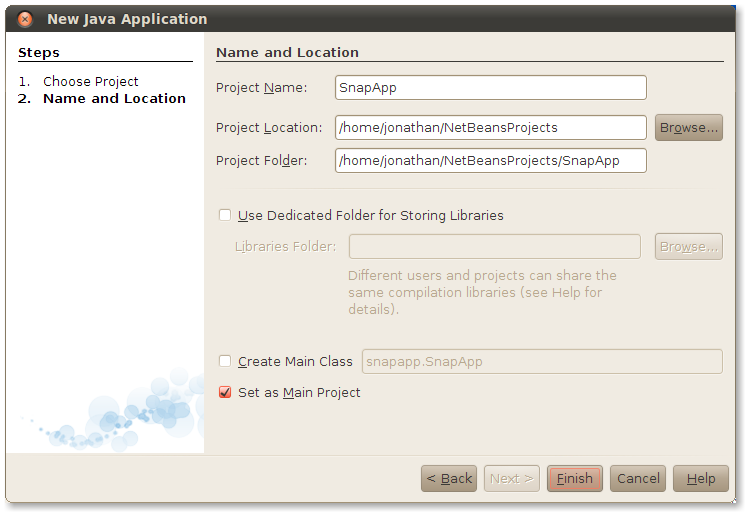
Enter SnapApp as the application name. Uncheck Create Main Class and click Finish. NetBeans creates the new project and you can see it in NetBeans' Projects pane:
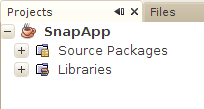
Control-click on the SnapApp project and choose New > JFrame Form... from the popup menu.
Click for full image
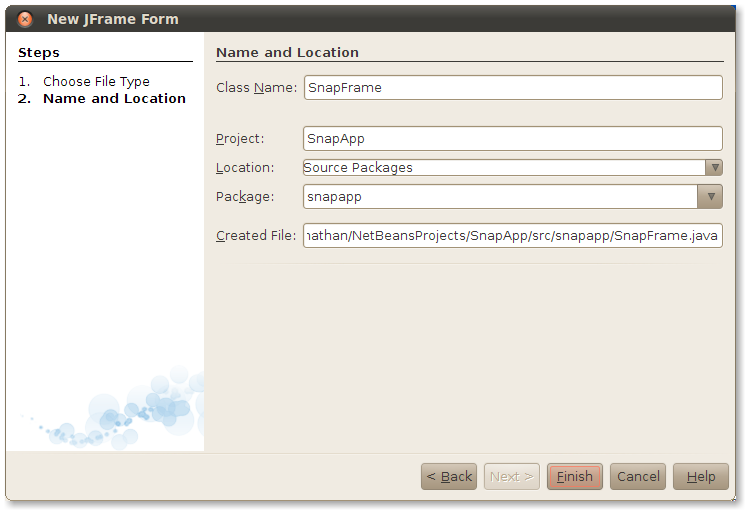
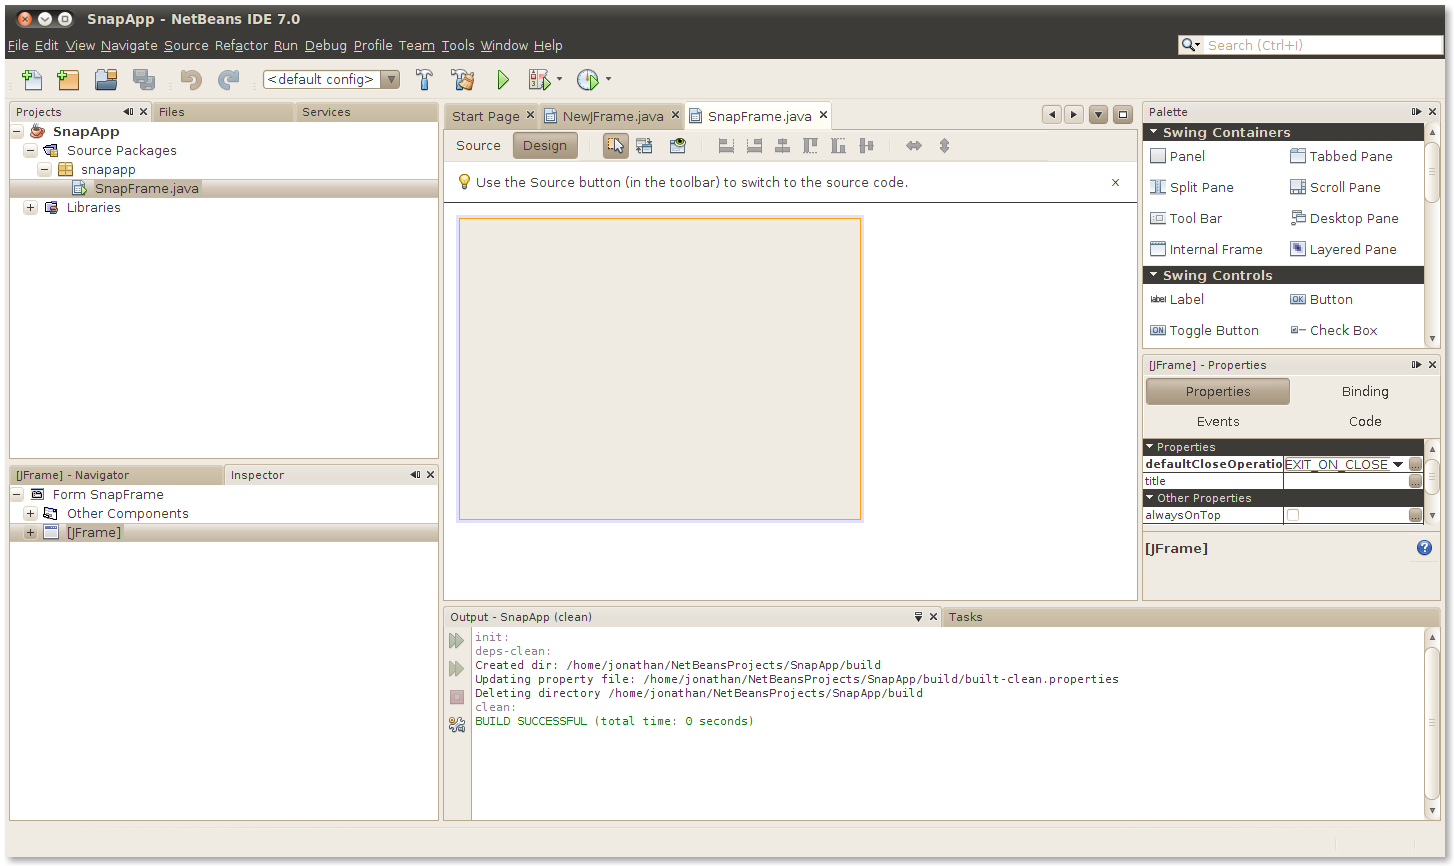
Fill in SnapFrame for the class name and snapapp as the package. Click Finish. NetBeans creates the new class and shows its visual designer:
Click for full image
In the Projects pane on the left, you can see the newly created SnapFrame class. In the center of the screen is the NetBeans visual designer. On the right side is the Palette, which contains all the components you can add to the frame in the visual designer.